1 lesson on:

The Basics of the DSLR Camera
Lesson objective: To identify how to hold a DSLR camera and investigate the different settings
|
Task 1:
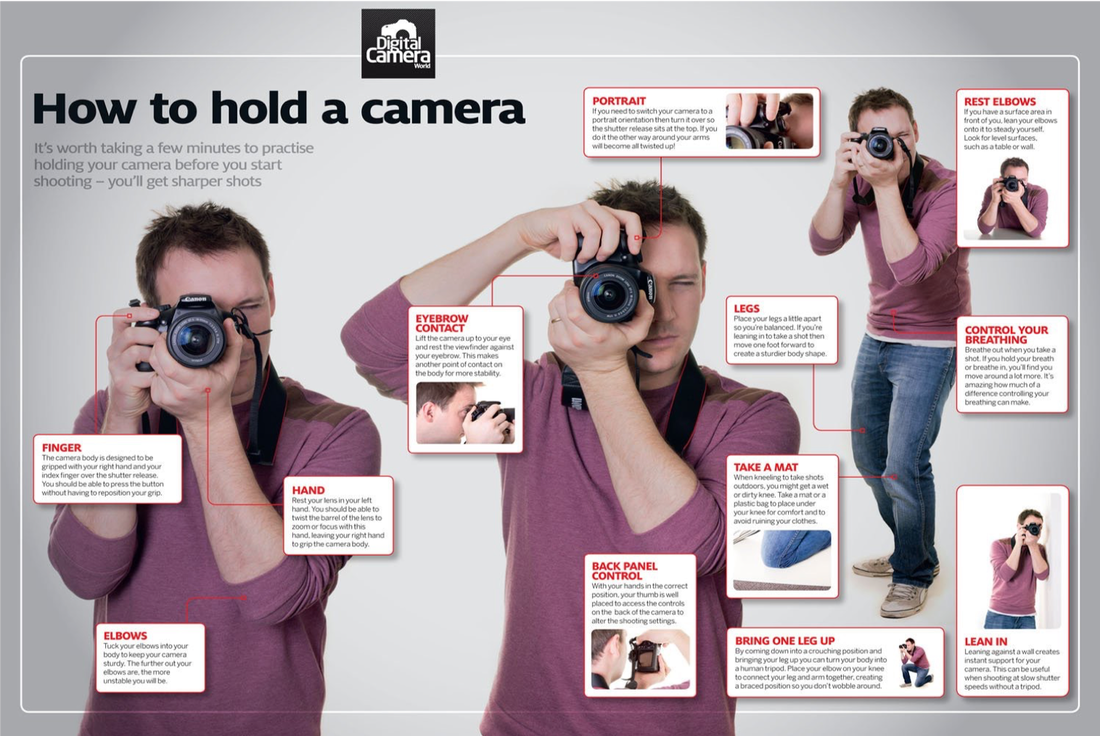
Watch the video to refresh your memory of how to hold a DSLR camera correctly. Task 2: Have a go at holding one of the cameras yourself to ensure that you understand each of the tips from the video. Use the image below to help you with more tips on holding the camera. |
|

|
Task 3:
Download & annotate the worksheet below to record your findings. This will be a really useful resource for you to come back to later if you find your shots are blurry or off centre (sometimes the reason your photos aren't perfect is as simple as the way you’re holding the camera!) |
|
Task 4:
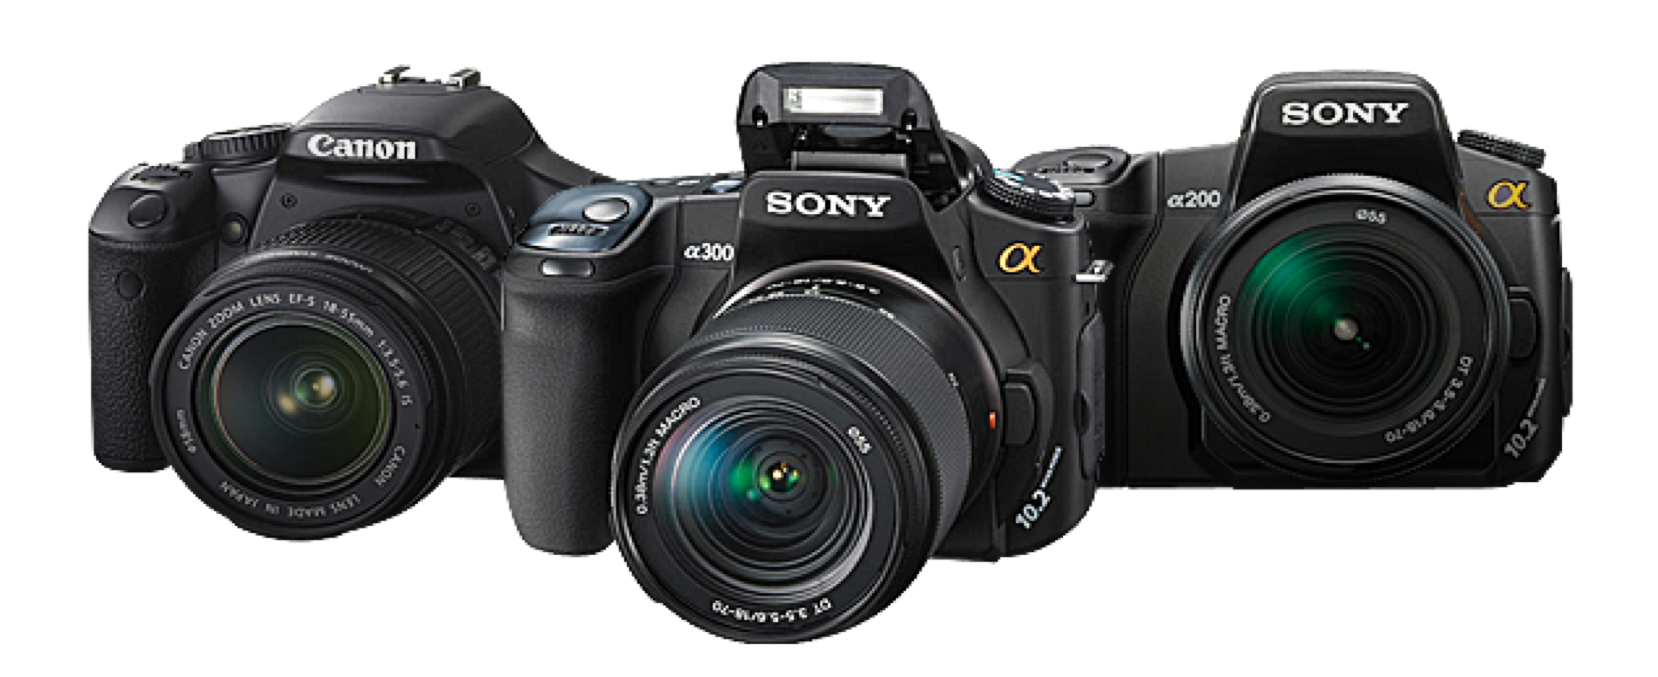
Download the worksheet on the different parts of the camera using the links below. There is one worksheet for green level and another for amber/red so remember to pick your worksheet according to your level of challenge. |

|
|
|
Task 5:
Watch the video talking you through the different parts and settings of the camera and complete the worksheet as you watch. |
|
Task 6:
Follow the instructions below or watch my video showing you how to save and upload your work to your site: a) Go to your Google Drive and click on the plus sign the the top left hand corner. Click on 'folder' to create a new folder called 'Yr 9 Photography' b) Right click on your new folder and 'share' it with the following email addresses: - [email protected] - [email protected] c) Create a folder within your 'Yr 9 Photography' folder called 'Basics', this is where you will save all of your work from our current project. d) Upload your completed worksheets from this lesson to your Google Drive to keep them safe e) Download your worksheets from PowerPoint as JPEGs and upload them as images to the Basics page of your site under the title 'The DSLR Camera' |
|
|
Task 7:
Watch this video to further your knowledge of holding the camera even more, this may seem like such a basic thing but if you can’t do this correctly it will be so much harder for you to compose your shots and take successful photographs. |
|
