Using a similar process to creating photograms, we can create what is called a 'contact print' by printing digital photos onto a thin sheet of see-through plastic (acetate) and then placing this over our photosensitive paper before exposing it to light. The result is a detailed black and white image like the ones below:
Once you get the hang of creating a basic contact print, you can also start to experiment with adding other techniques to your work (both pre-darkroom while you are processing your prints) like the ones below:
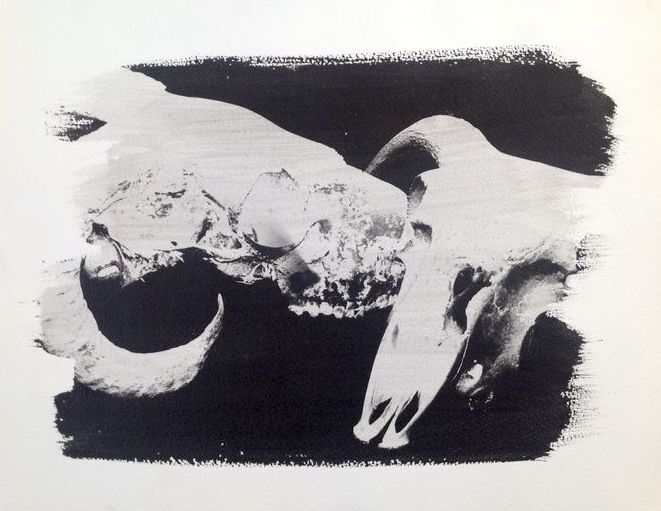
Contact print & chemigram - painted
Contact print & chemigram - layered
Contact print & chemigram - dripped
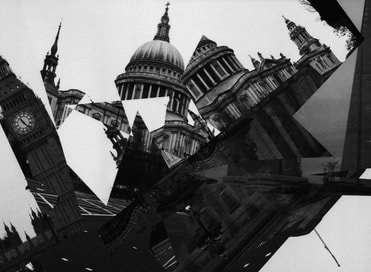
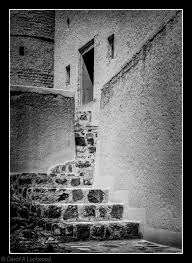
Contact print & photomontage
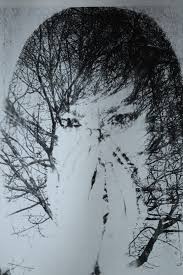
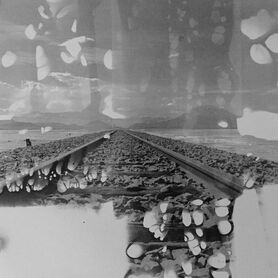
Contact print & double exposure
Task 1: Before you go into the dark room, you need to prepare your image(s) for printing. Watch my tutorial to find out how to turn a positive image into a negative one.
Green (grade 1/2) a) Choose one image from your Distortion project so far to turn into a contact print - this could be any image you like, but do not pick one which you have already distorted with digital editing. If you are using a photograph of a person then a headshot/close up of the face works well for this task. b) Turn it into a negative using Affinity. c) Place your chosen photograph into PowerPoint (size A5) d) Compress your image (this is included in the video above) e) Print your image f) Photocopy onto acetate ready for the darkroom
Amber (grade 3/4) a) Choose two images from your Distortion project so far to turn into contact prints. These can be any images you like, but try to pick images which are not already distorted through digital editing. If you are using portrait photographs then headshots/close ups of the face works well for this task. You might also like to have one portrait and one landscape image. b) Turn them into negatives using Affinity c) Place your chosen photographs into PowerPoint (size A5) d) Compress your images (this is included in the video above) e) Print your images (be careful not to print them double sided) f) Photocopy onto acetate ready for the darkroom
Red (grades 5+) a) Choose three images from your Distortion project so far to turn into contact prints. These can be any images you like. Choose two which are not already distorted with digital editing and one that has been. If you are using portrait photographs then headshots/close ups of the face works well for this task. You might also like to have a mixture of portrait and landscape images. b) Turn them into negatives using Affinity c) Place your chosen photographs into PowerPoint (size A5) d) Compress your images (this is included in the video above) e) Print your images (be careful not to print them double sided) f) Photocopy onto acetate ready for the darkroom
Task 2: a) Add a new title to your site of 'Contact Prints' b) Upload your positive image(s) and negative image(s) next to each other. Optional - you could also photograph your acetate sheet and upload it next to your positive & negative images
Lesson 2
After you have been in the dark room and created your own contact prints, please complete the following tasks:
Task 1: Photograph your contact prints. To obtain the best images of your work, be sure the follow the steps below: - Photograph your work in natural daylight so that the shine of the paper does not distort your image. - Do not stand between the light source and your work or you might cast shadows over it. - Make sure that your phone/camera is parallel to your work or it will distort your image. - Use manual focus and be sure to zoom in on your image (press the + sign) to adjust the focus ring is using a DSLR camera. - Tap on the screen to focus your image (if using a phone).
Task 2: a) Download your photographs onto your computer and save them in your documents. b) Upload your contact prints underneath your positive and negative images.
Task 3: Green (grade 1/2) Edit your best two contact prints using Affinity. a) First crop your images to ensure there is no white space around the edge. b) Then edit to subtly enhance your images. You might like to try a combination of the following: - Enhance brightness and contrast - Enhance lighting and shadows (eg. curves or filters: render - lighting.) c) Complete a mini CD cover outcome with your best edited contact prints by cropping it into to a square shape and adding text (title of album and artist name).
Amber (grade 3-4) / Red (grades 5+) Edit two of your favourite contact prints using Affinity. a) First crop and remove any distracting elements from the background. b) Then edit one of your images to subtly enhance it. You might like to try a combination of the following: - Enhance brightness and contrast - Enhance lighting and shadows (eg. curves or filters: render - lighting.) c) Try out a different digital editing technique on your other image - glitch, double exposure etc. d) Create a mini CD cover outcome with your best edited contact prints by cropping it into to a square shape and adding text (title of album and artist name).
Task 5: Save your edited photos as JPEGs then upload to your site under the title of 'Contact Print Edits' so your photos are large and show off your skills. Task 4: Write a few sentences to review your photo shoot and edited photos. Put this underneath your edited photos. (Green/Amber) Use some/all of the sentence starters below as a guide (these can be adjusted): I think my most interesting contact print is ...because... I think I improved my original contact print in my edits by... I used a combination of ... adjustment layer and...
Red As above (using your own words) and: - What are the strengths of your edited contact prints and why? - How could you develop these contact prints in a new and original way? What aspects would you keep and what would you change to improve them?