2 lessons on:

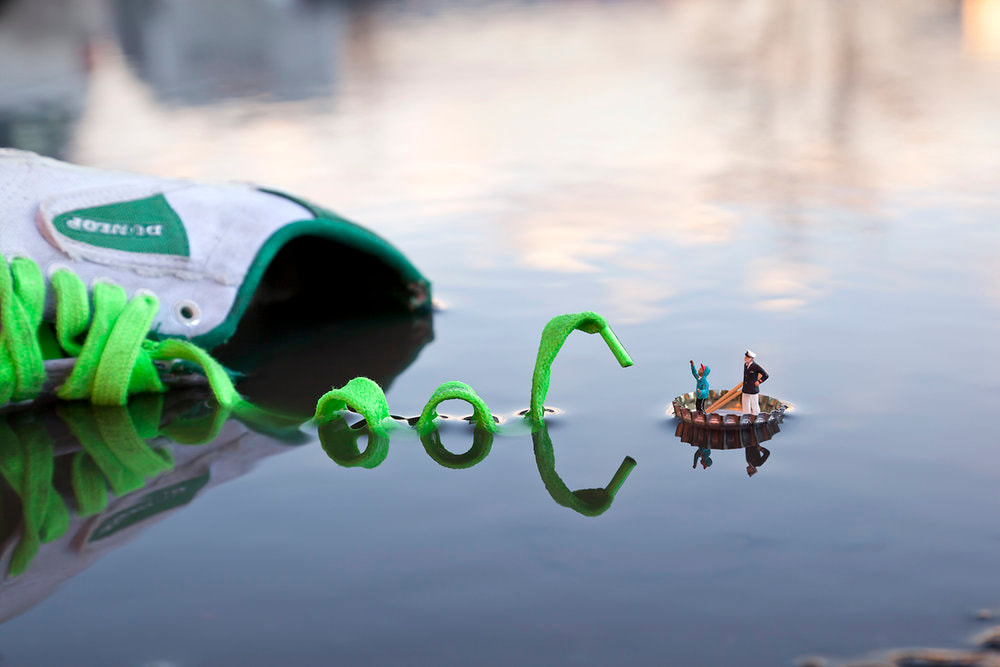
Slinkachu shoot
Lesson objective: To consolidate knowledge of Slinkachu by completing a photoshoot in his style and develop photo editing skills
|
|
|
|
Task 1:
Green (grade 1/2) - Complete one shoot where you take 12 photographs in response to Slinkachu. Amber (grade 3/4) - Complete two shoots where you take 15-20 photographs, working from your photoshoot plan. |
|
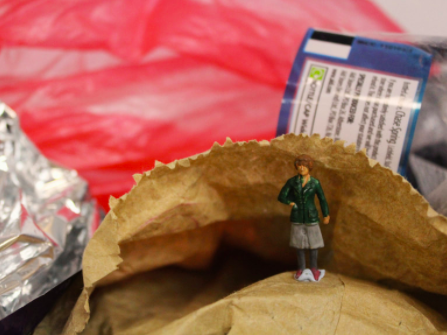
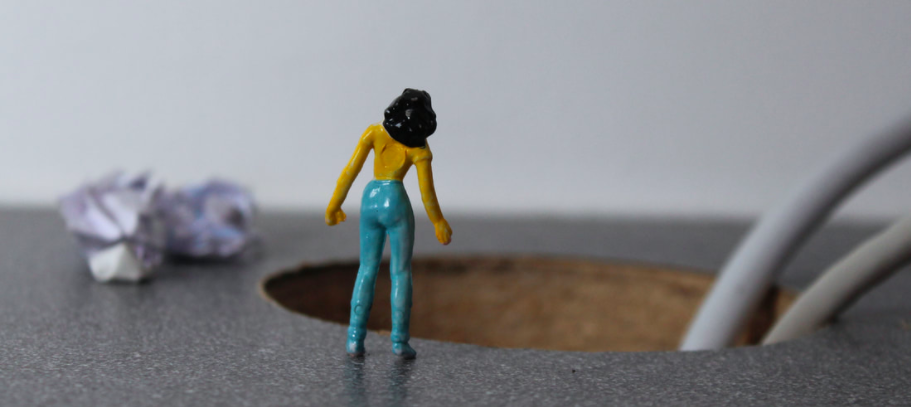
Pupil example
|
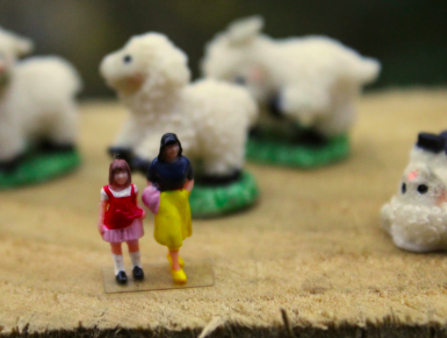
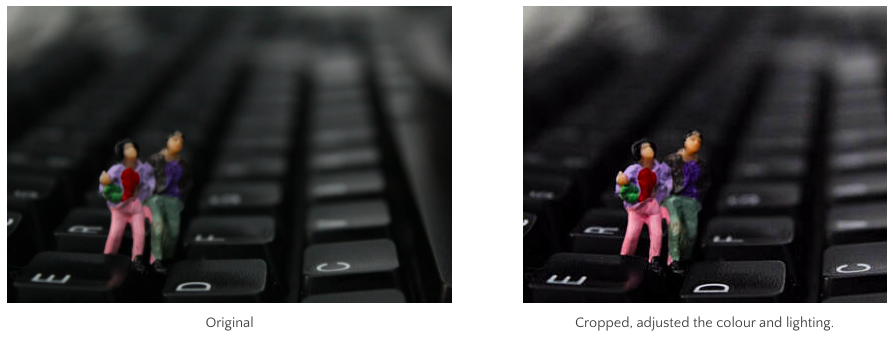
Pupil example
|

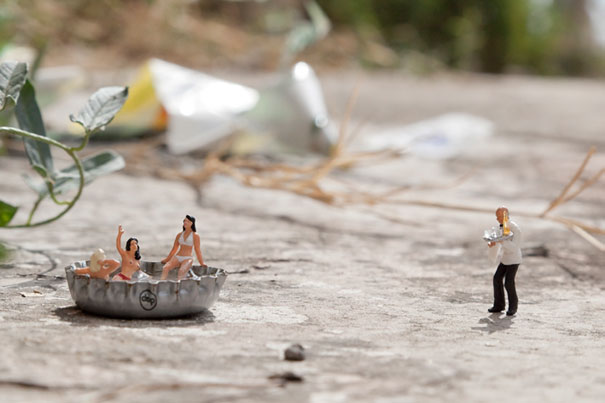
Pupil example
|