5 lessons on:

Artist Research 2
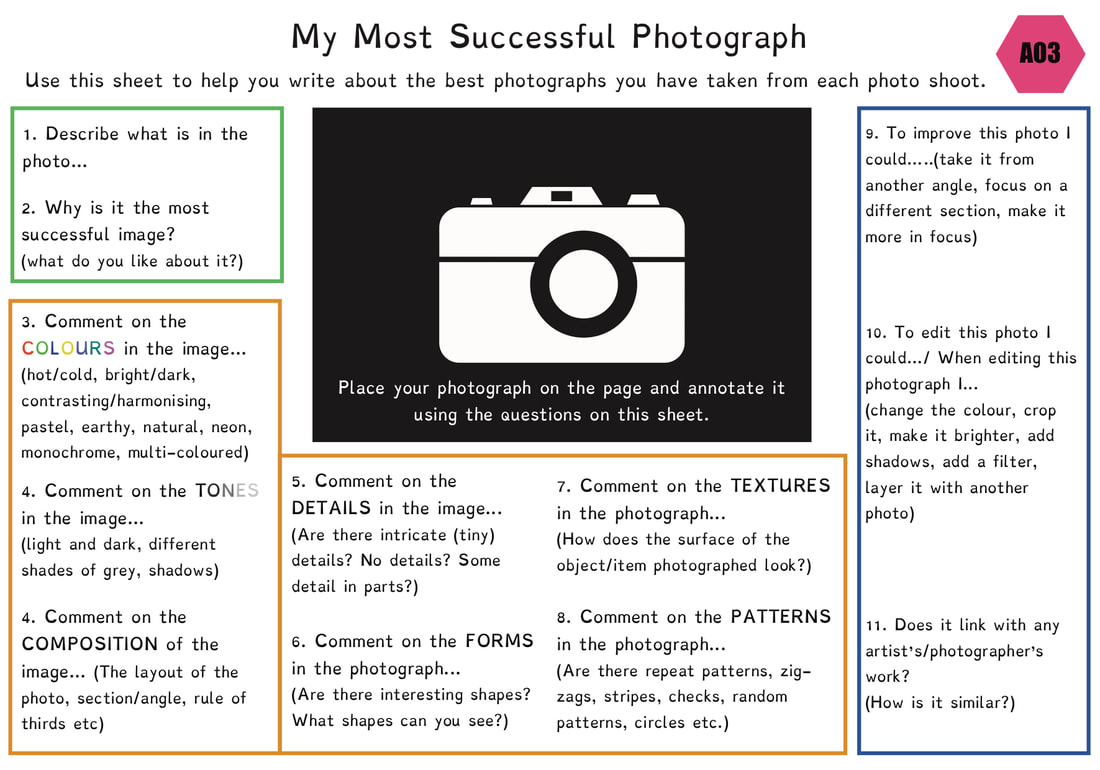
Lesson objective: To investigate the work of a second artist and develop a response to their work
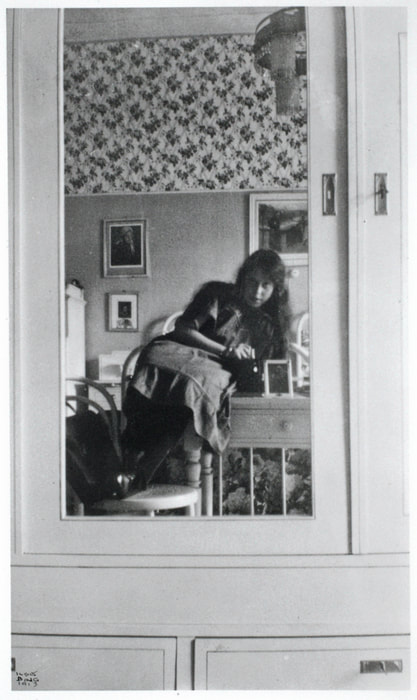
Ilse Bing (Self-Image)
|
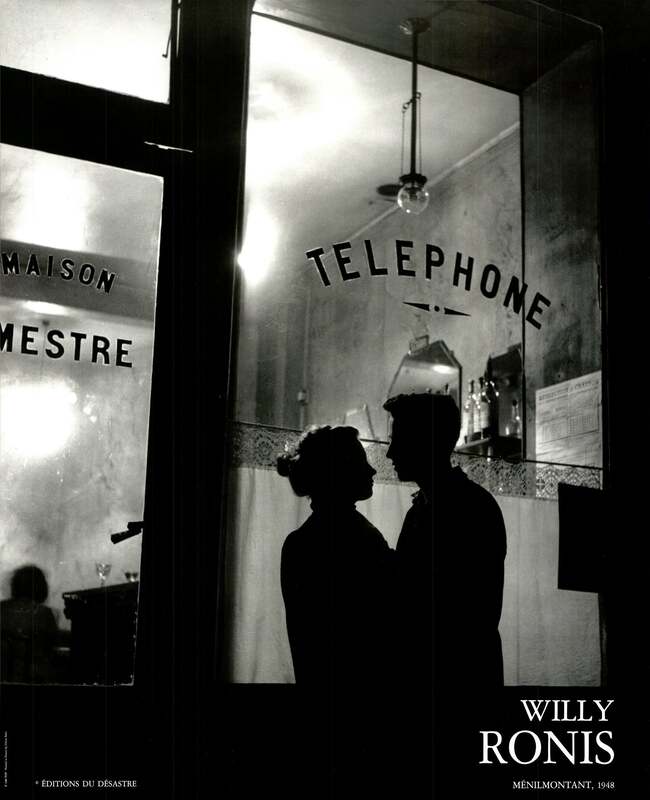
Willy Ronis (Light & Dark)
|
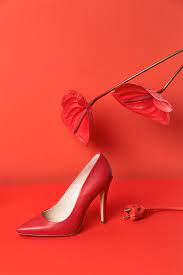
Jacob Reischel (Choice of Colour)
|
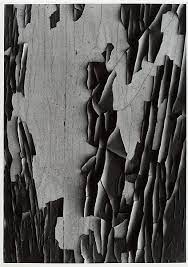
Aaron Siskind (Texture)
|
|
|
|
|
|
|
|
|
Red (grades 6+)
Amber + Take as many photographs as you wish. Variety is key. - Try to vary the angles from which you take your photographs, how close you are to your subject, which parts of the scene you are zooming in on etc. in each of your photos. |
|