
|
|
|
Experimentation is an incredibly important part of any project. It shows the examiner that we are willing to take risks and try out a variety of possibilities before narrowing down our ideas.
Over the course of this project you will experiment with a variety of different methods of distorting an image including:
- Reflections
- Water
- Plastic
- Digital Glitching
- Projections
- Non-Lens based Dark Room practises
Some of these will be completed at home whilst others will be completed at school, depending on the equipment you need.
For this homework I would like you to experiment with distorting the face through reflections.
There are a variety of different ways you can achieve this effect at home, look at the examples and watch the video below to get some ideas:
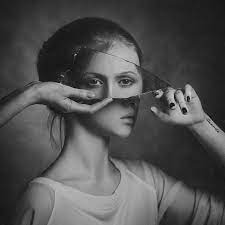
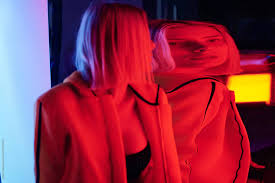
Reflecting specific parts of the face
|
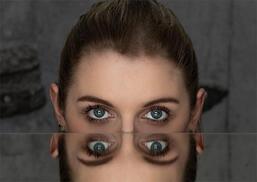
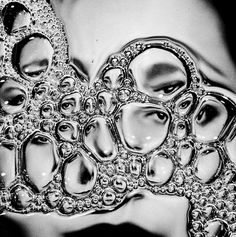
Fun house mirror effects
|
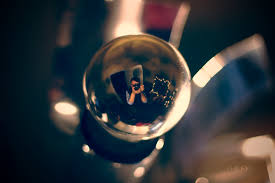
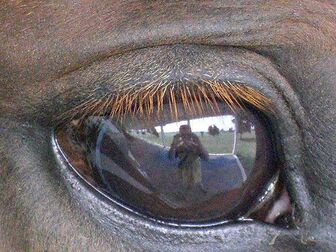
Reflective 3D objects
|
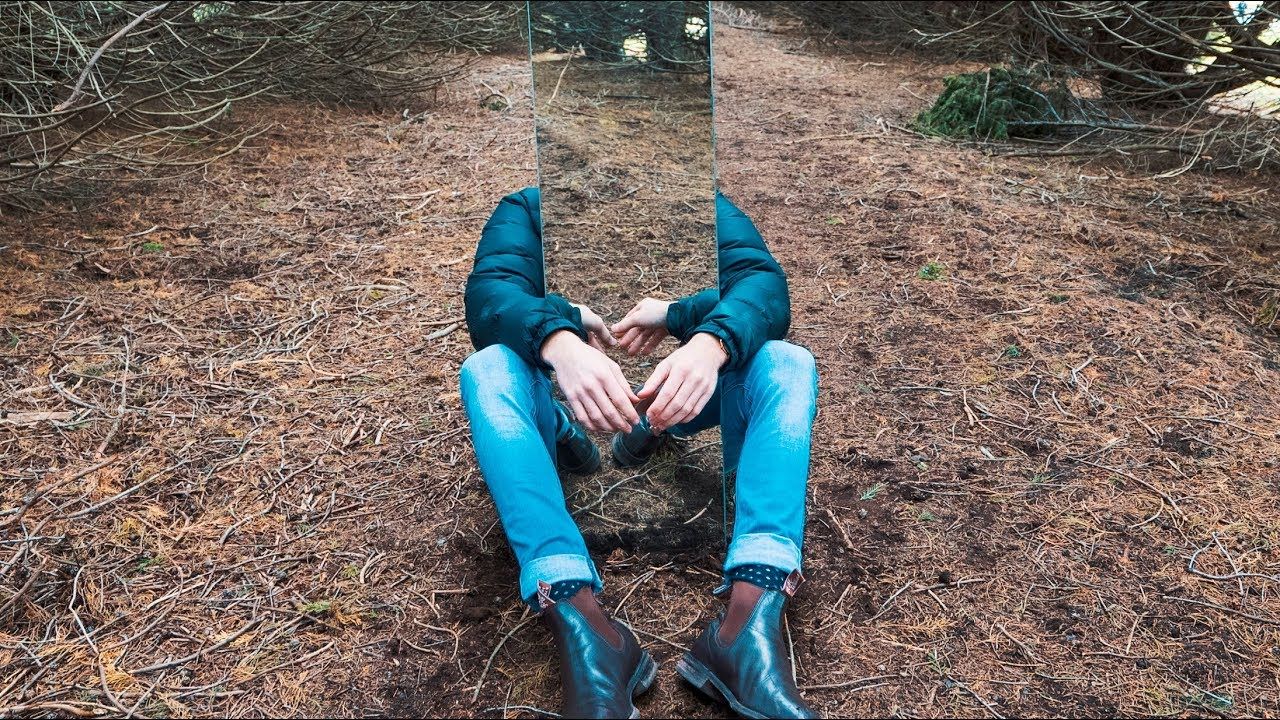
Placing a mirror in front of part of the body to hide it so that it looks like some of it is missing
|
|
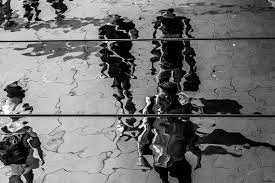
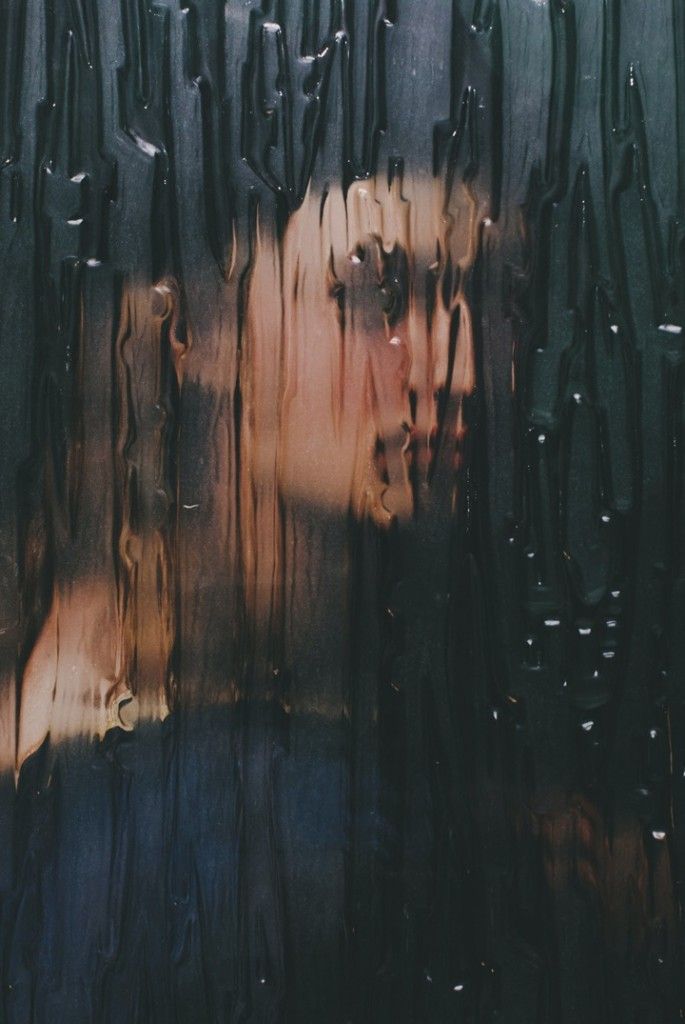
Unexpected reflective surfaces such as windows and buildings can distort in interesting ways
|
Task 1:
Green (grade 1-3)
Take 8 photographs experimenting with the idea of reflection.
Amber (grade 4-5)
Take 12 photographs, remembering to use compositional guidelines in your work.
Green (grade 1-3)
Take 8 photographs experimenting with the idea of reflection.
Amber (grade 4-5)
Take 12 photographs, remembering to use compositional guidelines in your work.
Red (grades 6+)
Take as many photographs as you wish.
Variety is key - try to vary the angles from which you take your photographs, how close you are to your subject, which parts of the scene you are zooming in on etc.
Ensure that all of your photographs are in focus and remember to play with compositional guidelines in your images.
Task 2:
Create a new folder in your Photography folder in your Google Drive with the title 'Reflection Experiments' and upload your photos to that folder.
Green (grade 1-3)
a) Complete one photoshoot (with at least 8 photos) inspired by the theme of distortion.
b) Add a title underneath your classwork of 'Reflections Experiments'.
c) Create a new folder in your Google Drive with the title 'Reflections Experiments' and upload your photos to that folder.
d) Upload your photographs to your site to create a contact sheet (remember - your photographs should be in rows of four)
e) Screenshot your contact sheet
f) Delete your photos and upload your screenshot where they were
g) Choose your best two photographs which you have cropped to improve and display them side by side underneath your contact sheet so that they are large and show off your best work.
g) Write a sentence about your photographs:
What do you think was successful? Why? Would you like to take any of these ideas forward with you in this project?
Amber (grade 4-5)
Green +
a) Complete one photoshoot (with at least 12 photos) inspired by the theme of distortion.
Think about lighting (time of day if using natural lighting), angles and the overall composition of your images.
b) Choose your best two photographs and crop and edit them using simple edits like contrast, brightness and saturation and place them side by side underneath your contact sheet so that they are large and show off your best work.
Red (grades 6+)
a) Take as many photographs as you wish. Variety is key.
Carefully consider your choice of: lighting, angles, composition, model, costume, props and background.
b) Choose your best two photographs, crop and edit using more complex or multiple edits and display them side by side underneath your contact sheet so that they are large and show off your best work.a)
Going for Gold
Pick your favourite experiment and edit it to enhance your work. Then crop it down so that it is square in size and add text to make a CD cover. Display this in large underneath your contact sheet of photographs.
