5 lessons on:

Creating your final poster
Lesson objective: To consolidate knowledge of film posters by creating one for an original film
|
|
|
|
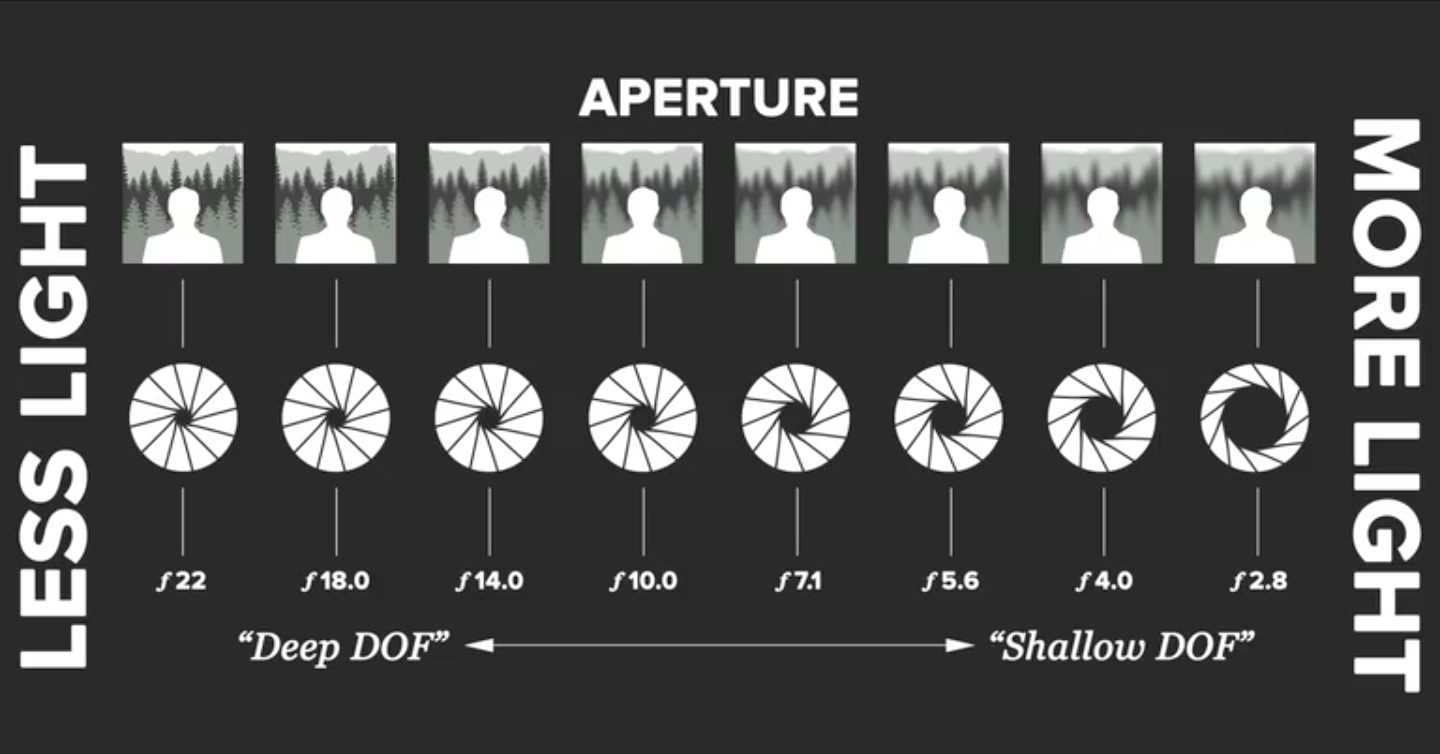
- Also think about lighting, (time of day if using natural lighting) angles, the overall composition of your images, your choice of model, costume, props and background.
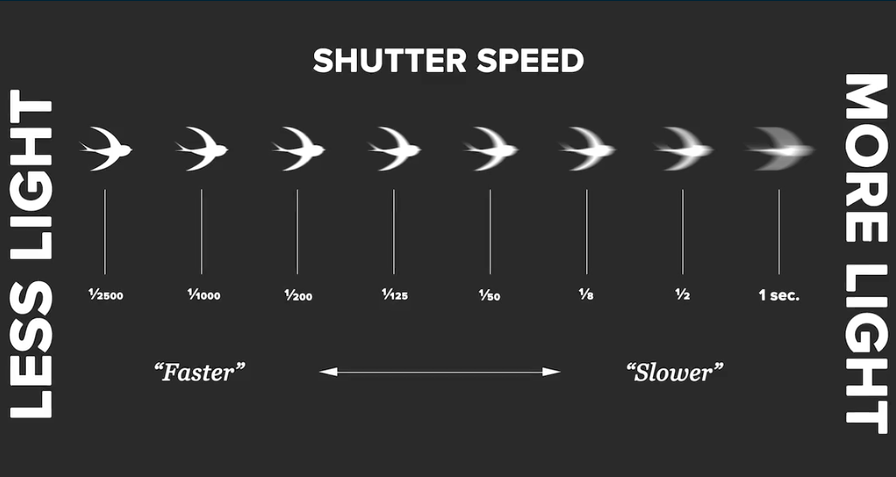
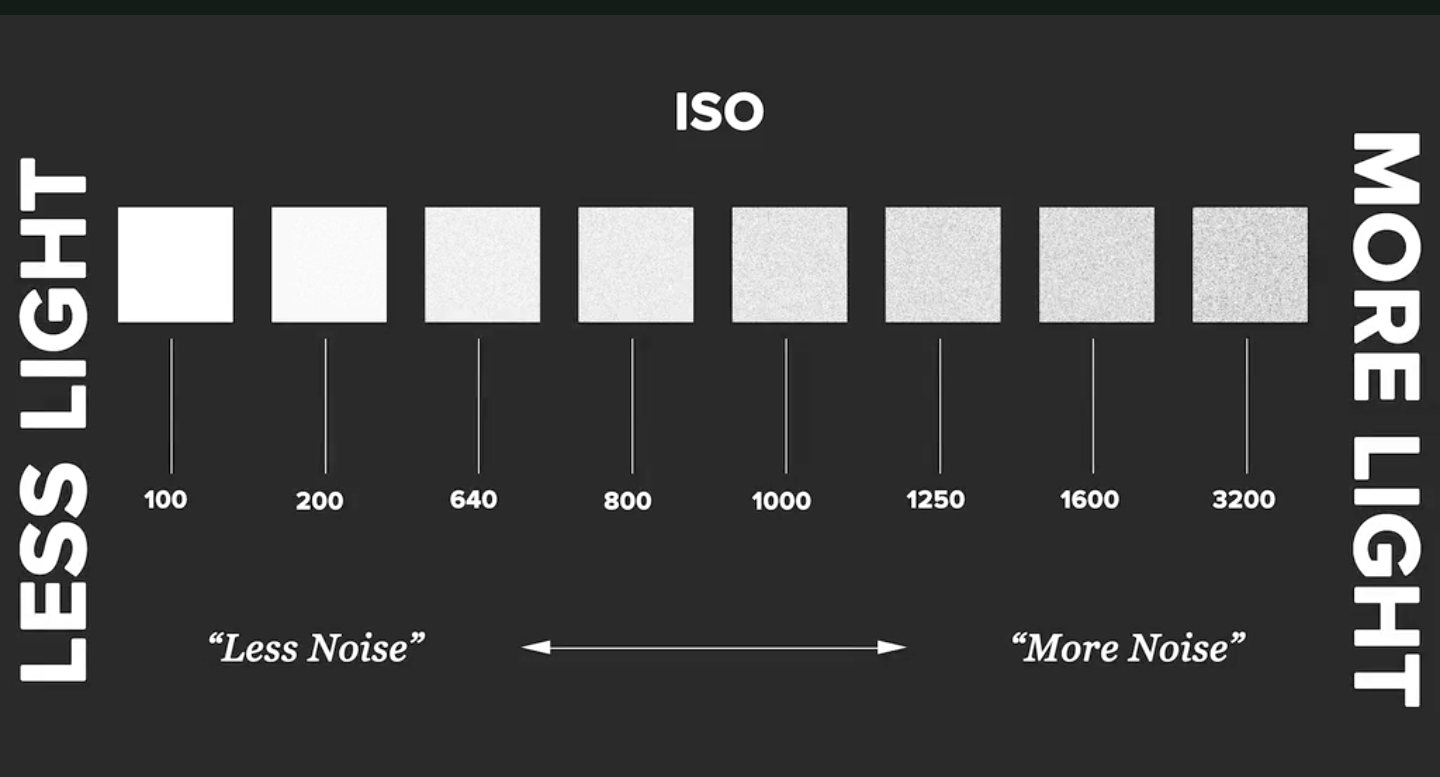
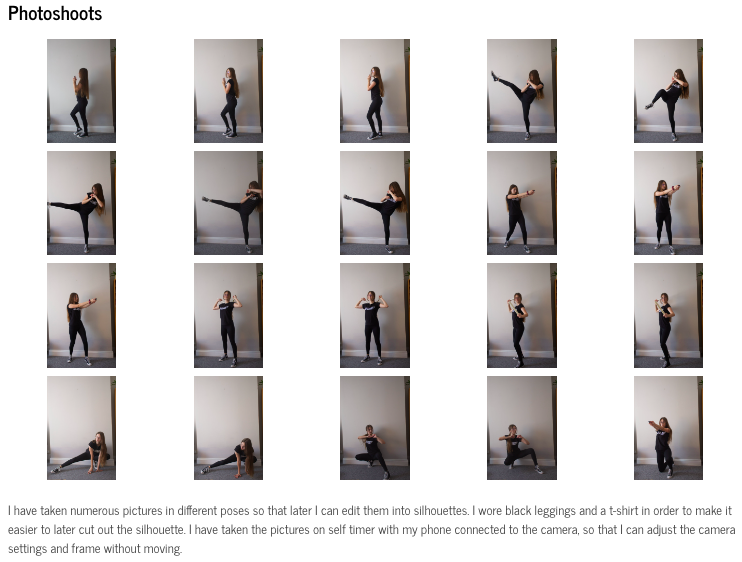
- Remember that you will need to leave room to add text for your titles/tag line/actor names etc. - Try to vary the angles from which you take your photographs, how close you are to your subject, which parts of the scene you are zooming in on etc. in each of your photos. - Ensure that all of your photographs are in focus, and have used camera settings appropriately. |
|
Contact sheet 1
|
Contact sheet 2
|
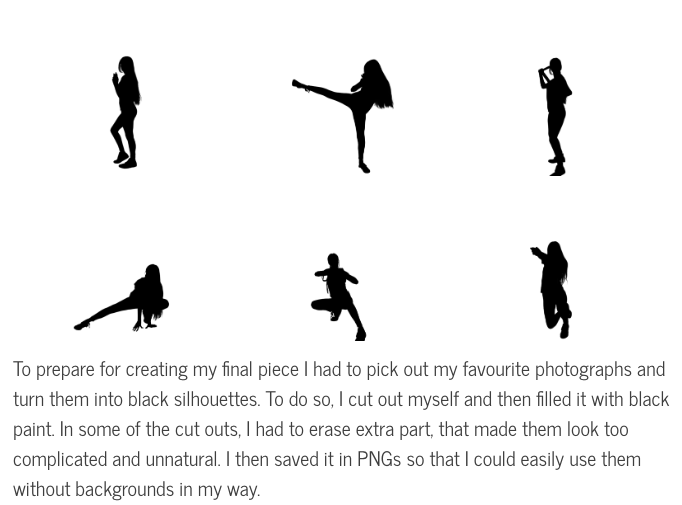
Photo edits 1
|
Photo edits 2
|
|
Task 6:
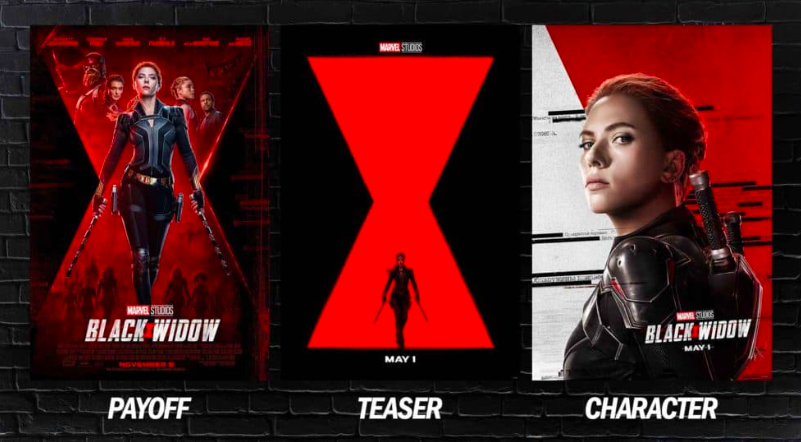
Using either Affinity, Canva or another editing application of your choice add typography to your main image to create your main/final poster. Remember to think back to the first/teaser posters you have already created: - What mistakes did you make that you would like to improve on? - What was successful and therefore you would like to keep? - Which typography/layout was the most successful? It this appropriate for a main/final poster? To be successful when creating your main/final poster you need to include the relevant elements: - Photographs of the characters, objects and/or places which are relevant to the plot of the film (these are multiple photographs edited together to create a photomontage) |
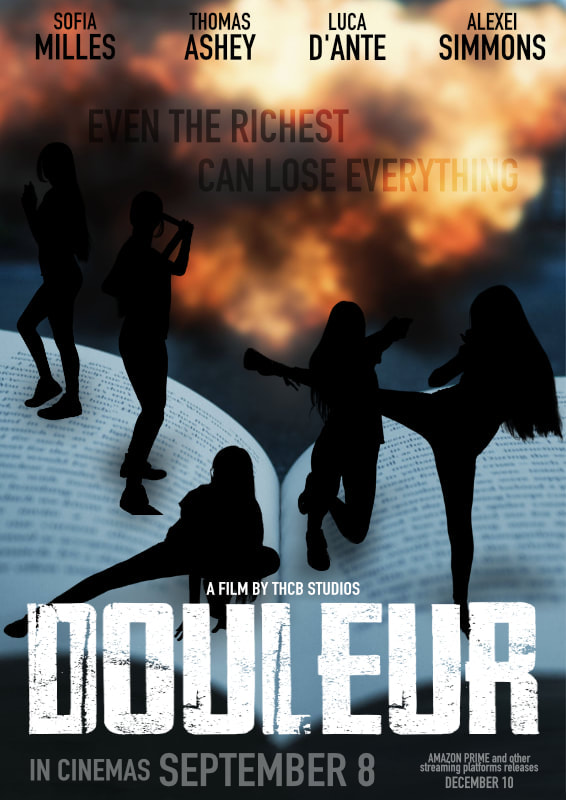
Finished poster
|
|
|
|
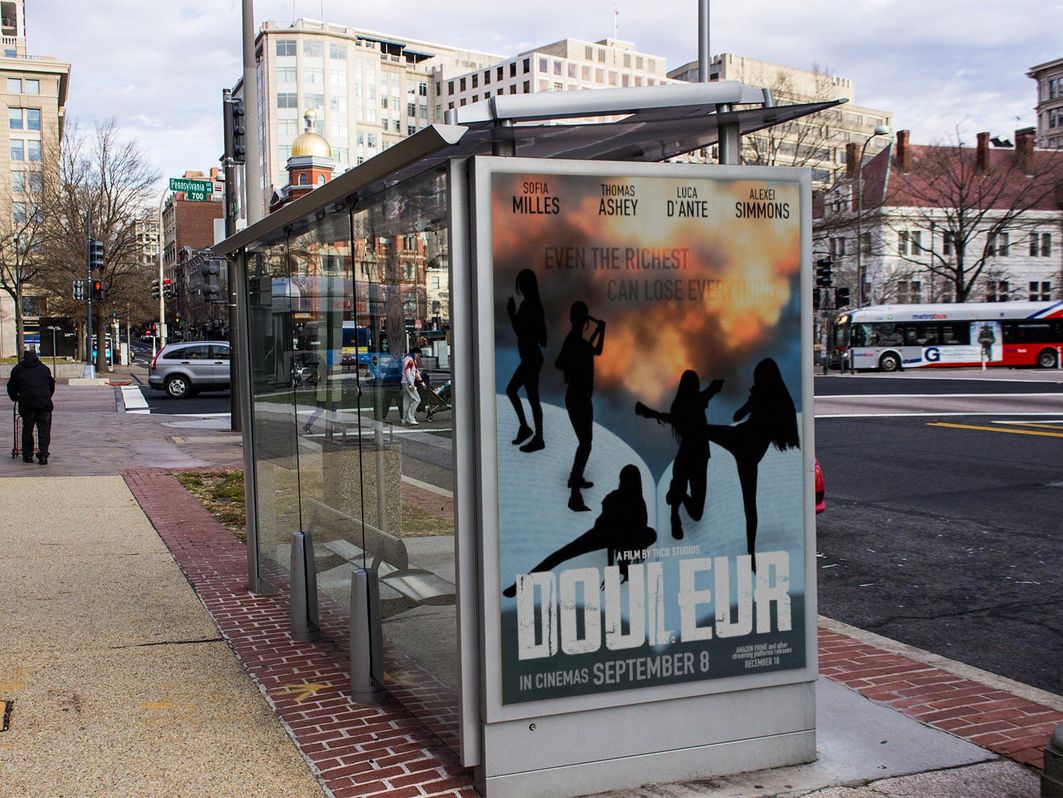
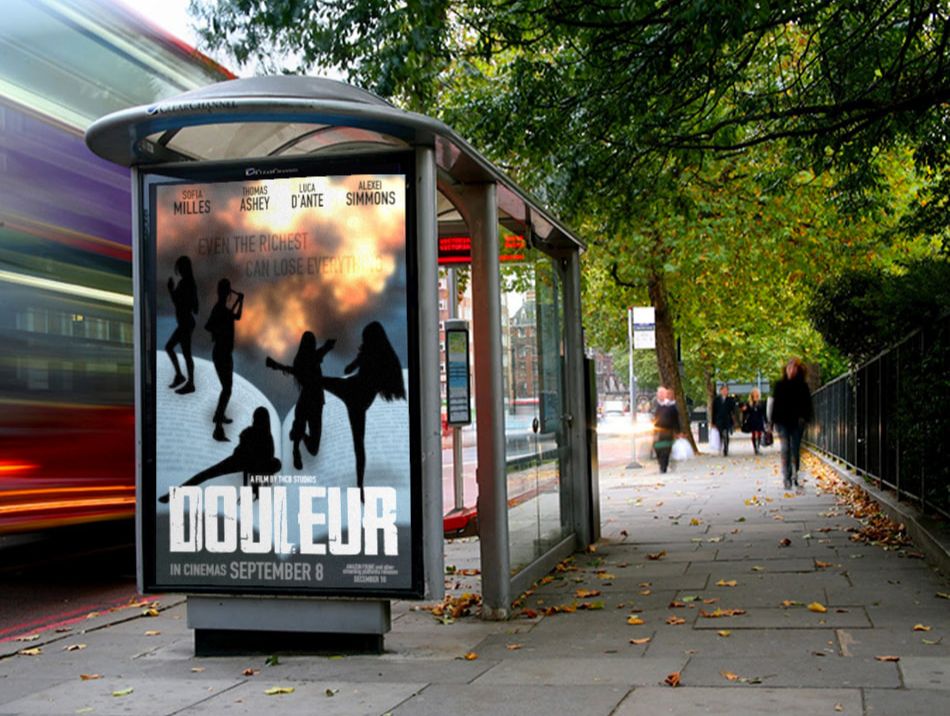
Task 8:
When you have finished creating your poster, I would like you to find an image of a bus or a bus stop and use Affinity to edit the photograph so that your poster is included. See my video for help with this task and then upload it to your site. Task 9: Green (grade 1/2) |
|
|
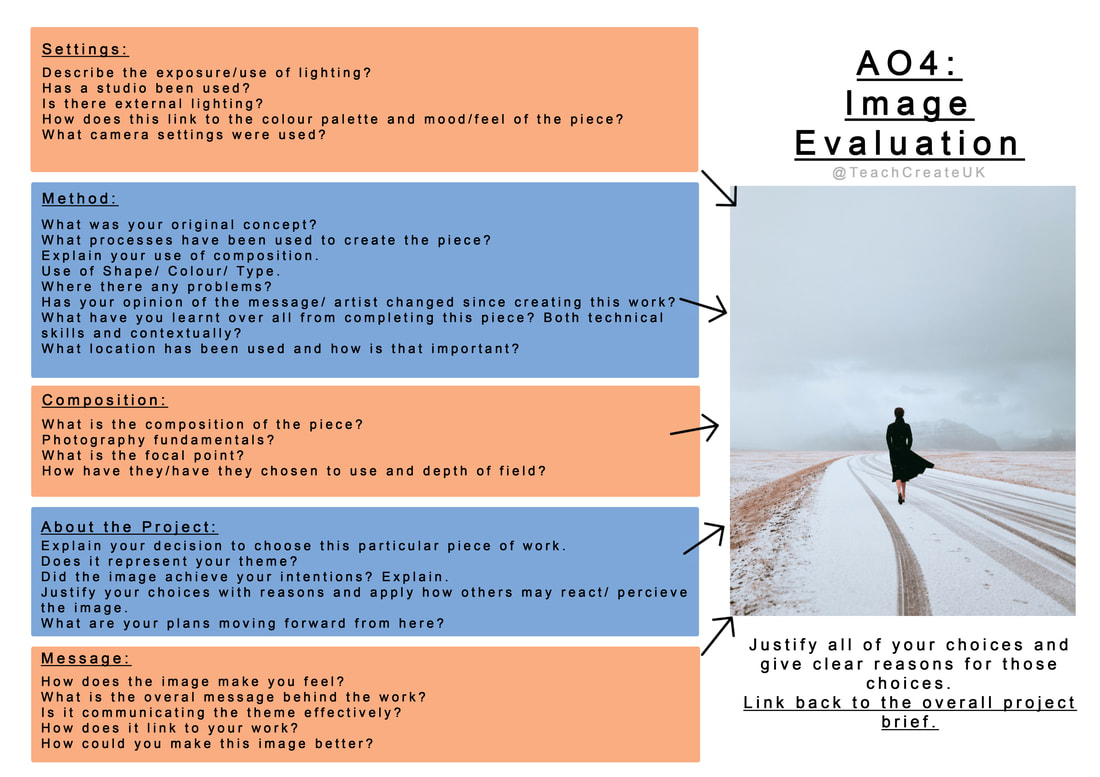
Red (grades 5+)
Answer the questions on the help sheet in full sentences to create your evaluation. You may not be able to answer all of these questions because this is a film poster project, but try to answer as many as you can. |
|
