
As soon as you finish off your animations for the Alive project we will be moving on to our next project, the theme of which is Distortion.
Lots of you will choose to photograph people as part of this project, so it is important that we understand how to do this successfully before we begin working on it. During your lessons you will be researching different types of lighting within portraiture.
You will be completing a shoot at school which explores these types of lighting, but I would also like you to complete a photoshoot at home since you have access to a range of different locations, props, costumes etc outside of the school setting.
|

|
Task 1:
Green (grade 1/2)
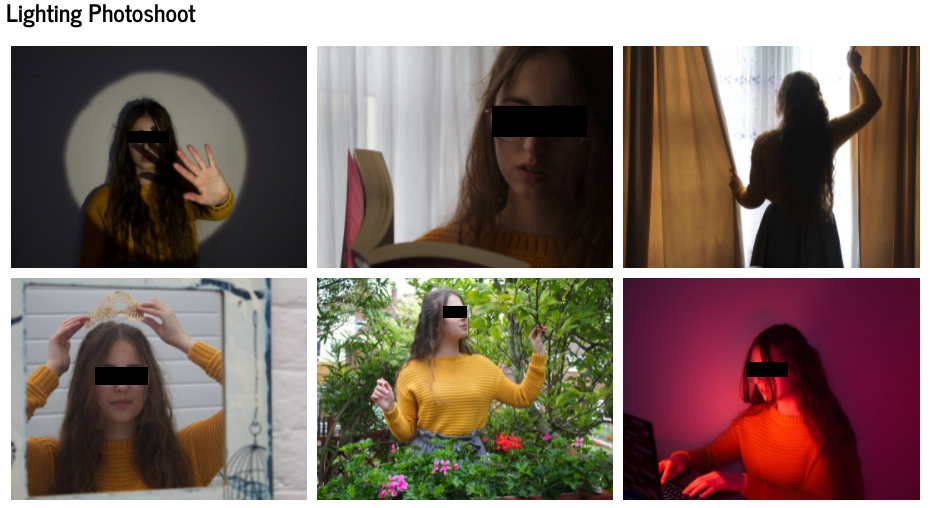
a) Take one photoshoot (with at least 6 photos) of the same person, with each photograph using different lighting:
Green (grade 1/2)
a) Take one photoshoot (with at least 6 photos) of the same person, with each photograph using different lighting:
- Spotlight
- Side lighting
- Back Lighting
- Soft/diffused lighting
- Natural lighting
- Creative/unusual lighting
|
|

|
Amber (grade 3/4)
a) Take one photoshoot (with at least 12 photos) of the same person, with each photograph using different lighting (2 photographs for each type of lighting):
- Spotlight
- Side lighting
- Back Lighting
- Soft/diffused lighting
- Natural lighting
- Creative/unusual lighting
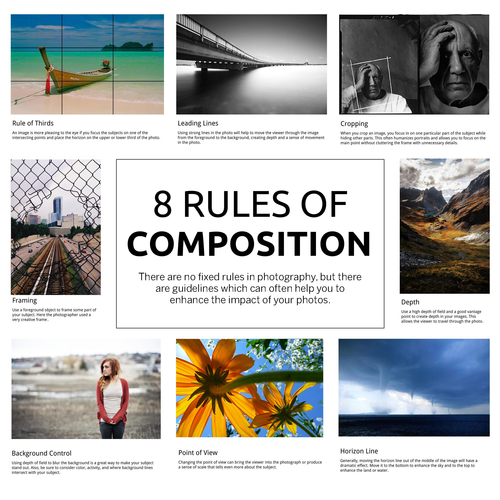
- Use compositional guidelines in your photographs (such as simplicity, dramatic angles, rule of thirds) to make your portrait more successful/interesting.
- Ensure that each of your photographs is in focus.
|
Red (grades 5+)
a) Take one photoshoot (with at least 18 photos) of the same person, with each photograph using different lighting (3 photographs for each type of lighting):
|
|
- Use compositional guidelines in your photographs (such as simplicity, dramatic angles, rule of thirds) to make your portrait more successful/interesting.
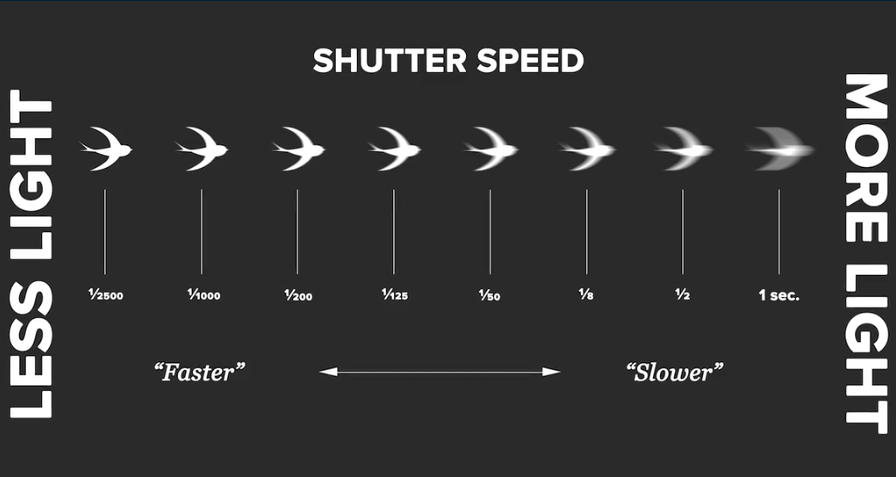
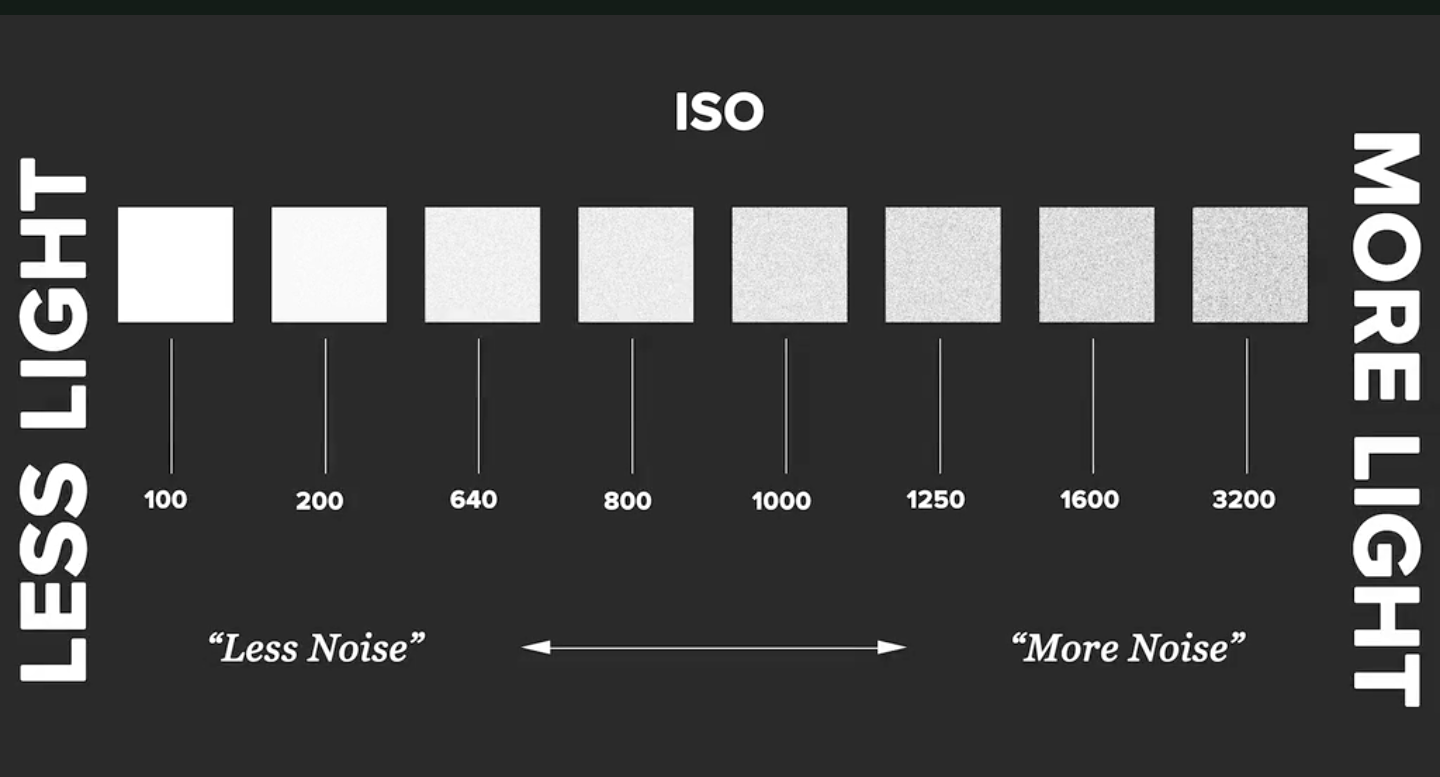
- Ensure that your photographs are in focus and you have used the correct camera settings so that your photographs are correctly exposed.
Task 2:
Upload your photographs underneath the photographs you have taken at school for each of the types of lighting you have researched.
Remember that you should upload your photos, screen shot them, delete the original photos & then upload your screenshot.
So for each type of lighting you should have:
1. Title (type of lighting)
2. Sentence explaining how that type of lighting is achieved
3. Found examples of the lighting type
4. Your own examples using the type of lighting from school
5. Photo edits of the photographs you took at school
6. Your own examples using the type of lighting from home
