6 lessons on:

Developing your own Idea
Lesson objective: To develop ideas for your own film poster
|
Task 1:
Green (grade 1-3) Using one or more of the plot generators below, come up with a plot for an imaginary film. Remember to work within the horror genre. a) film crux story generator b murder plot generator or take a look at some famous plots with: c) writing plot website Amber (grade 4-5) Using one or more of the plot generators above, come up with a plot for an imaginary film. Remember to stick within the horror genre. Change the descriptors on the generator you have chosen until you have a story which you are happy with. Red (grades 6+) Using one or more of the plot generators above, come up with a plot for an imaginary film. Remember to stick with the horror genre, but consider subgenres you could explore (e.g supernatural, gothic, slasher, zombie, vampire, sci-fi, dystopian). Write in your own names and adjectives into the generator or come up with a plot which you have full control over. |
|
|
|
|
|
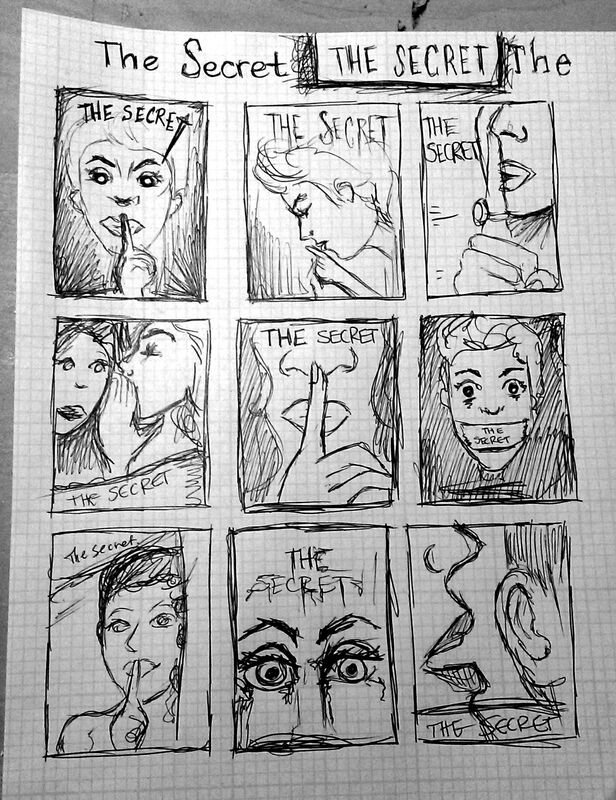
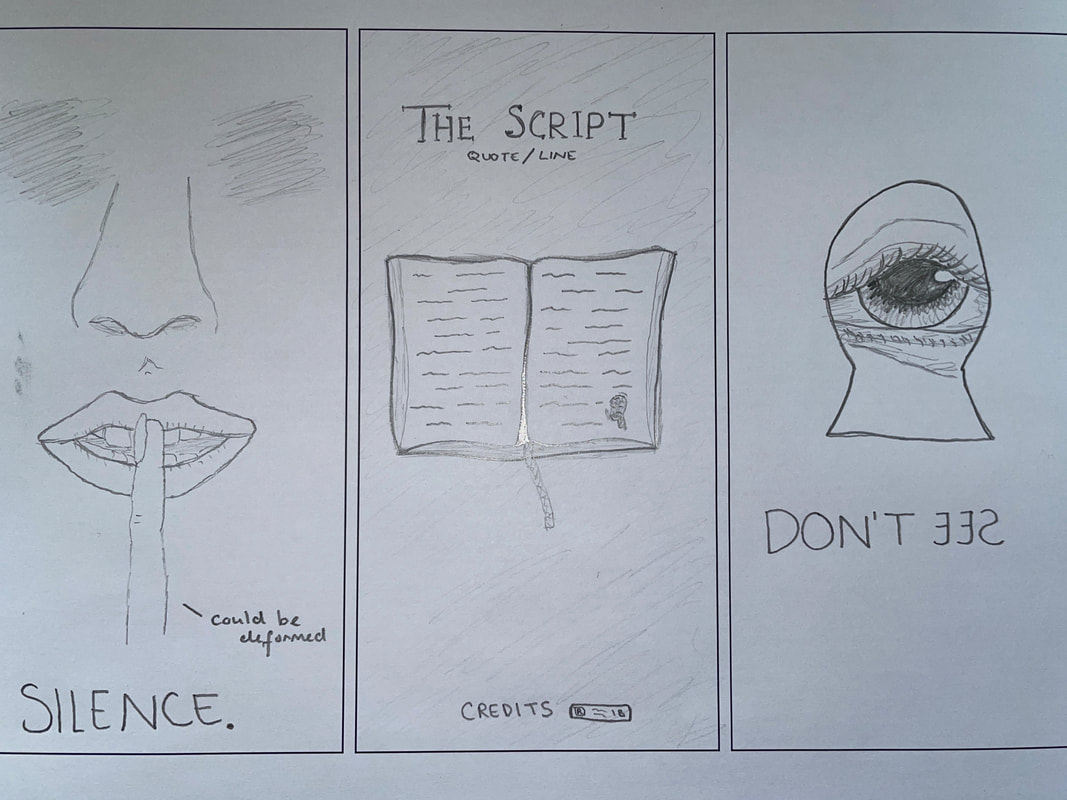
Task 1:
Using the plot, title & tagline you came up with last lesson, sketch three (or more) ideas for how your film poster could look. You can complete these on a whiteboard or digitally (using the shape tool on PowerPoint or Procreate on the iPads). When coming up with your ideas, think about how you can ensure that your poster fits in with the genre horror (look at your poster mood board and layout research for help with this) and consider how you might be influenced by the fine art mini outcome you have already created. Remember to add the relevant elements of a film poster to your your sketches to show where you think these could go and how your typography might interact with your main image. Include at least 5 of the following: the top three and then choose from the optional elements 1. The movie title 2. The tagline/slogan 3. The release date Optional (choose at least 2) - The name of the director (optional) - Names of main actors (optional) - Production company logo (optional) - A billing block (optional) Task 2: Photograph your drawings if they have been completed by hand and upload them to your site under the title of 'Possible poster ideas for my own film' Task 3: Underneath or beside your drawings, add a text box and annotate your work using the following sentence starters: |
|
|
Task 2:
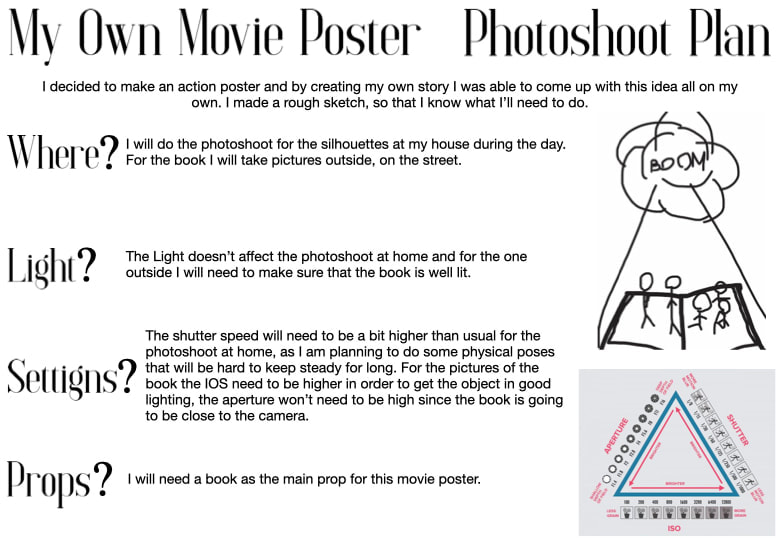
Create a single slide on a google slide (ensure this is saved within your Y10 Photo folder on Google Drive with the title '(Name of your film) Photoshoot 1 Plan'. You can also create your plan straight onto your site if you would prefer. Make notes and add pictures to inspire you. You may use the sentence starters/help sheets below or download the template that I have created and add your own information into it. |
|
|
|
|
|
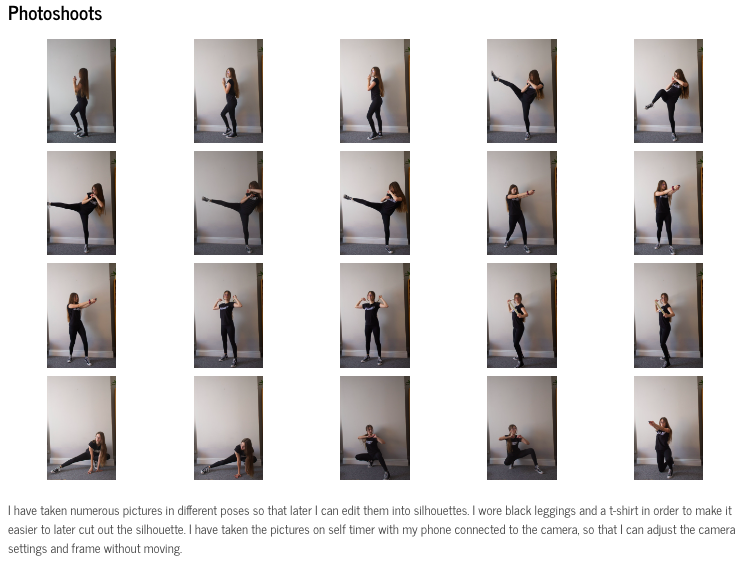
Red (grades 6+)
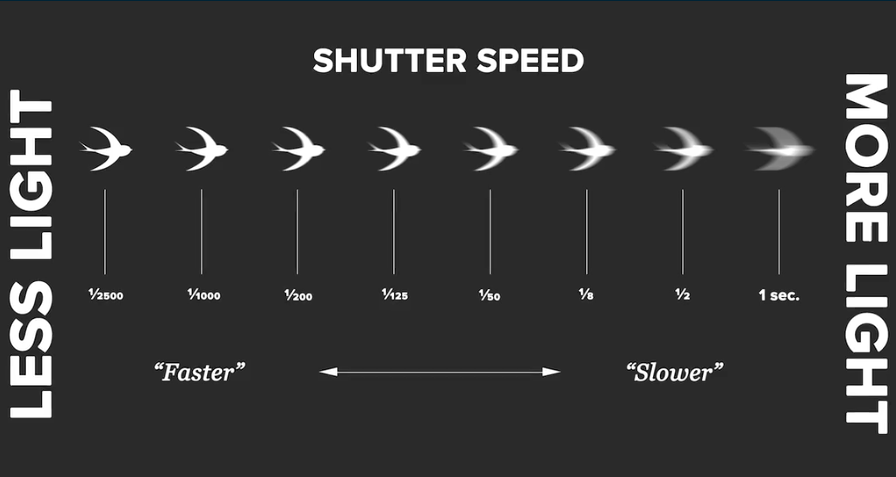
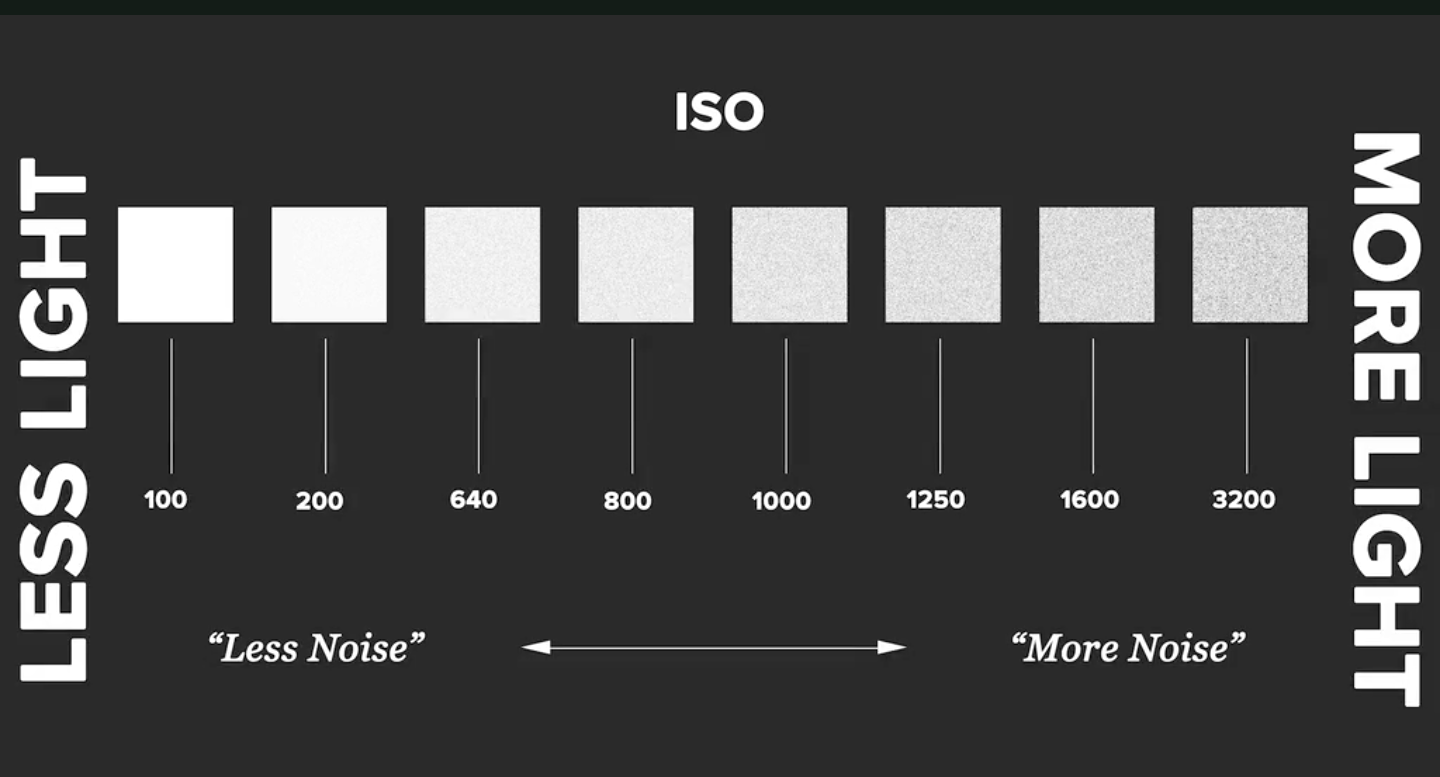
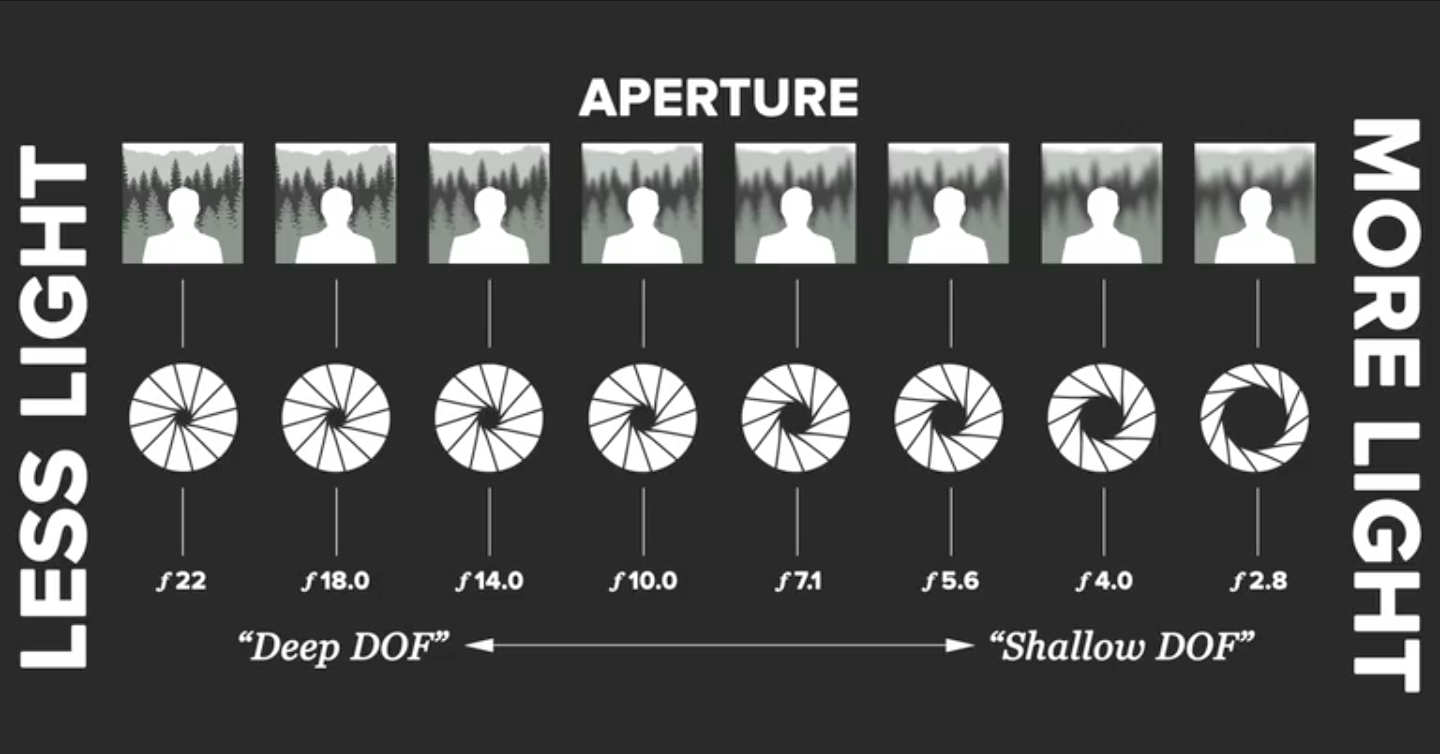
Take 16 + photographs . Variety is key. - Consider how you will edit your poster together - do you need a few photos of the people in your poster, a few of any props you might need and a few of the background which you will then edit together? - Also think about lighting, (time of day if using natural lighting) angles, the overall composition of your images, your choice of model, costume, props and background. - Try to vary the angles from which you take your photographs, how close you are to your subject, which parts of the scene you are zooming in on etc. in each of your photos. - Ensure that all of your photographs are in focus, and have used camera settings appropriately. |
|
|
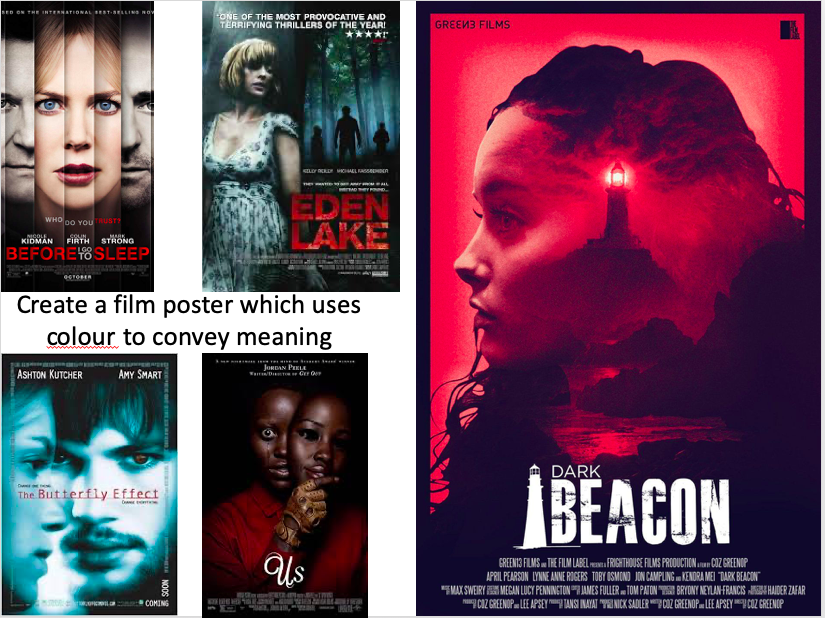
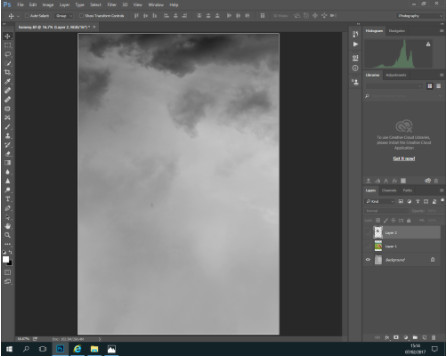
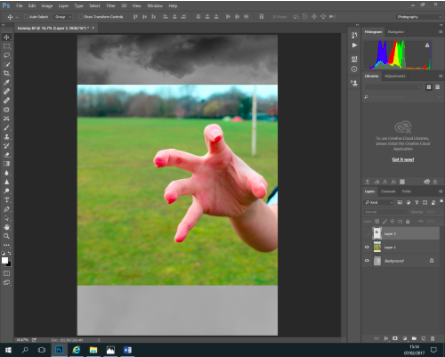
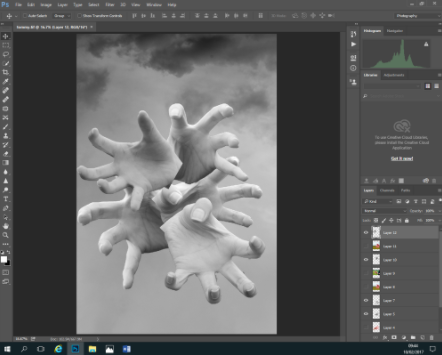
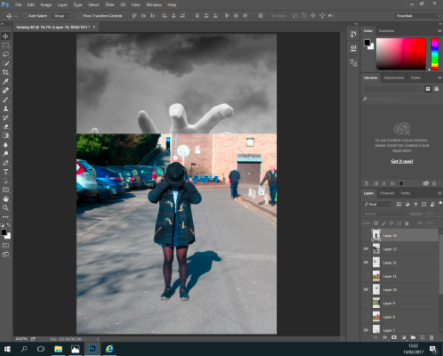
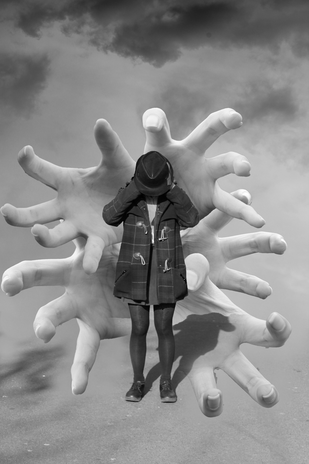
During today's lesson, you will edit the main image of your poster before adding typography to it during your next lesson. This is a great opportunity for you to experiment with the kinds of editing techniques you are using because you are not yet working towards creating a final outcome. Remember to be creative and ensure that your edits in keeping with the genre of film you have chosen to work with. Think about the overall colour scheme of your poster and how you might layer filters over your images to ensure that they are harmonious with your scheme.
|
Take a look at this poster being created in canva
|
|
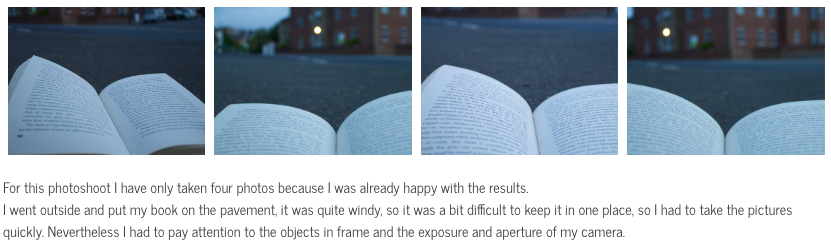
Task 1:
a) Upload your photos into a contact sheet (at least 4 photographs in a row) on your site with the title '(name of your film) Photoshoot 1 Contact Sheet'. If you completed the red task last lesson, you can pick your best 12 photographs to add to your contact sheet rather than displaying unsuccessful photographs. b) Pick your two favourite photographs and display them, unedited, side by side underneath your contact sheet. Task 2: Underneath your photos, annotate your shoot answering the following questions: |
|
|
|

|
|
|
|
|
|
|
|
Task 1:
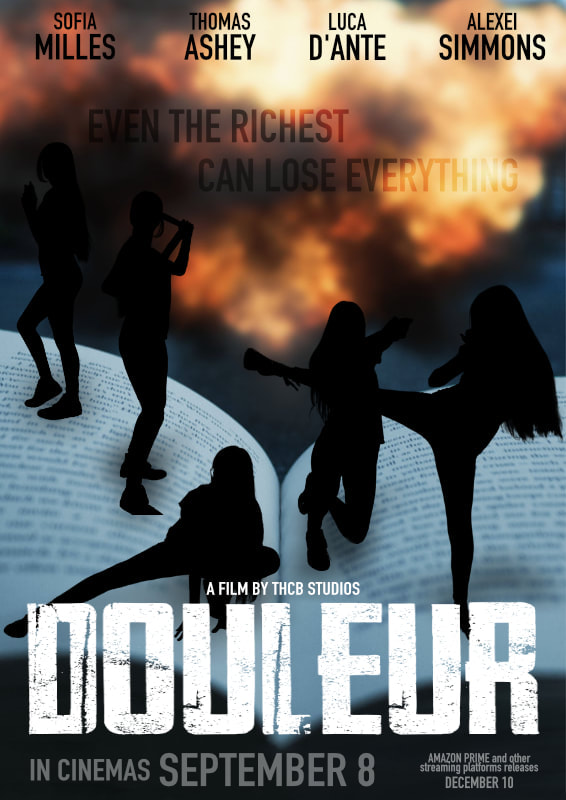
Using the programme Canva, add typography to your main image to create a variety of experiments for your film poster. Remember to look at your typography and layout research to make informed decisions when creating your experiments, you could even use the typography you found previously for this task! Green (grade 1-3) - Create at least three possible film posters using your main image from last lesson & three different film poster templates. - You can change the typography and layouts of each of your experiments to ensure that they are all different from each other. - Take a look at the Canva help page for short tutorials if you need help. Amber (grade 4-5) - Create at least three possible film posters using your main image from last lesson & three different film poster templates. - Try to ensure that all of your experiments look different from each other, you can change the typography and layouts in each of your experiments to achieve this. - Think carefully how your creative choices link to the genre of film you are working with. Red (grades 6+) - Create at least three possible film posters using your main image from last lesson & three different film poster templates. - Try to ensure that all of your experiments look different from each other, you can change the typography and layouts in each of your experiments to achieve this. - Think carefully how your creative choices link to the genre of film you are working with. |
|
